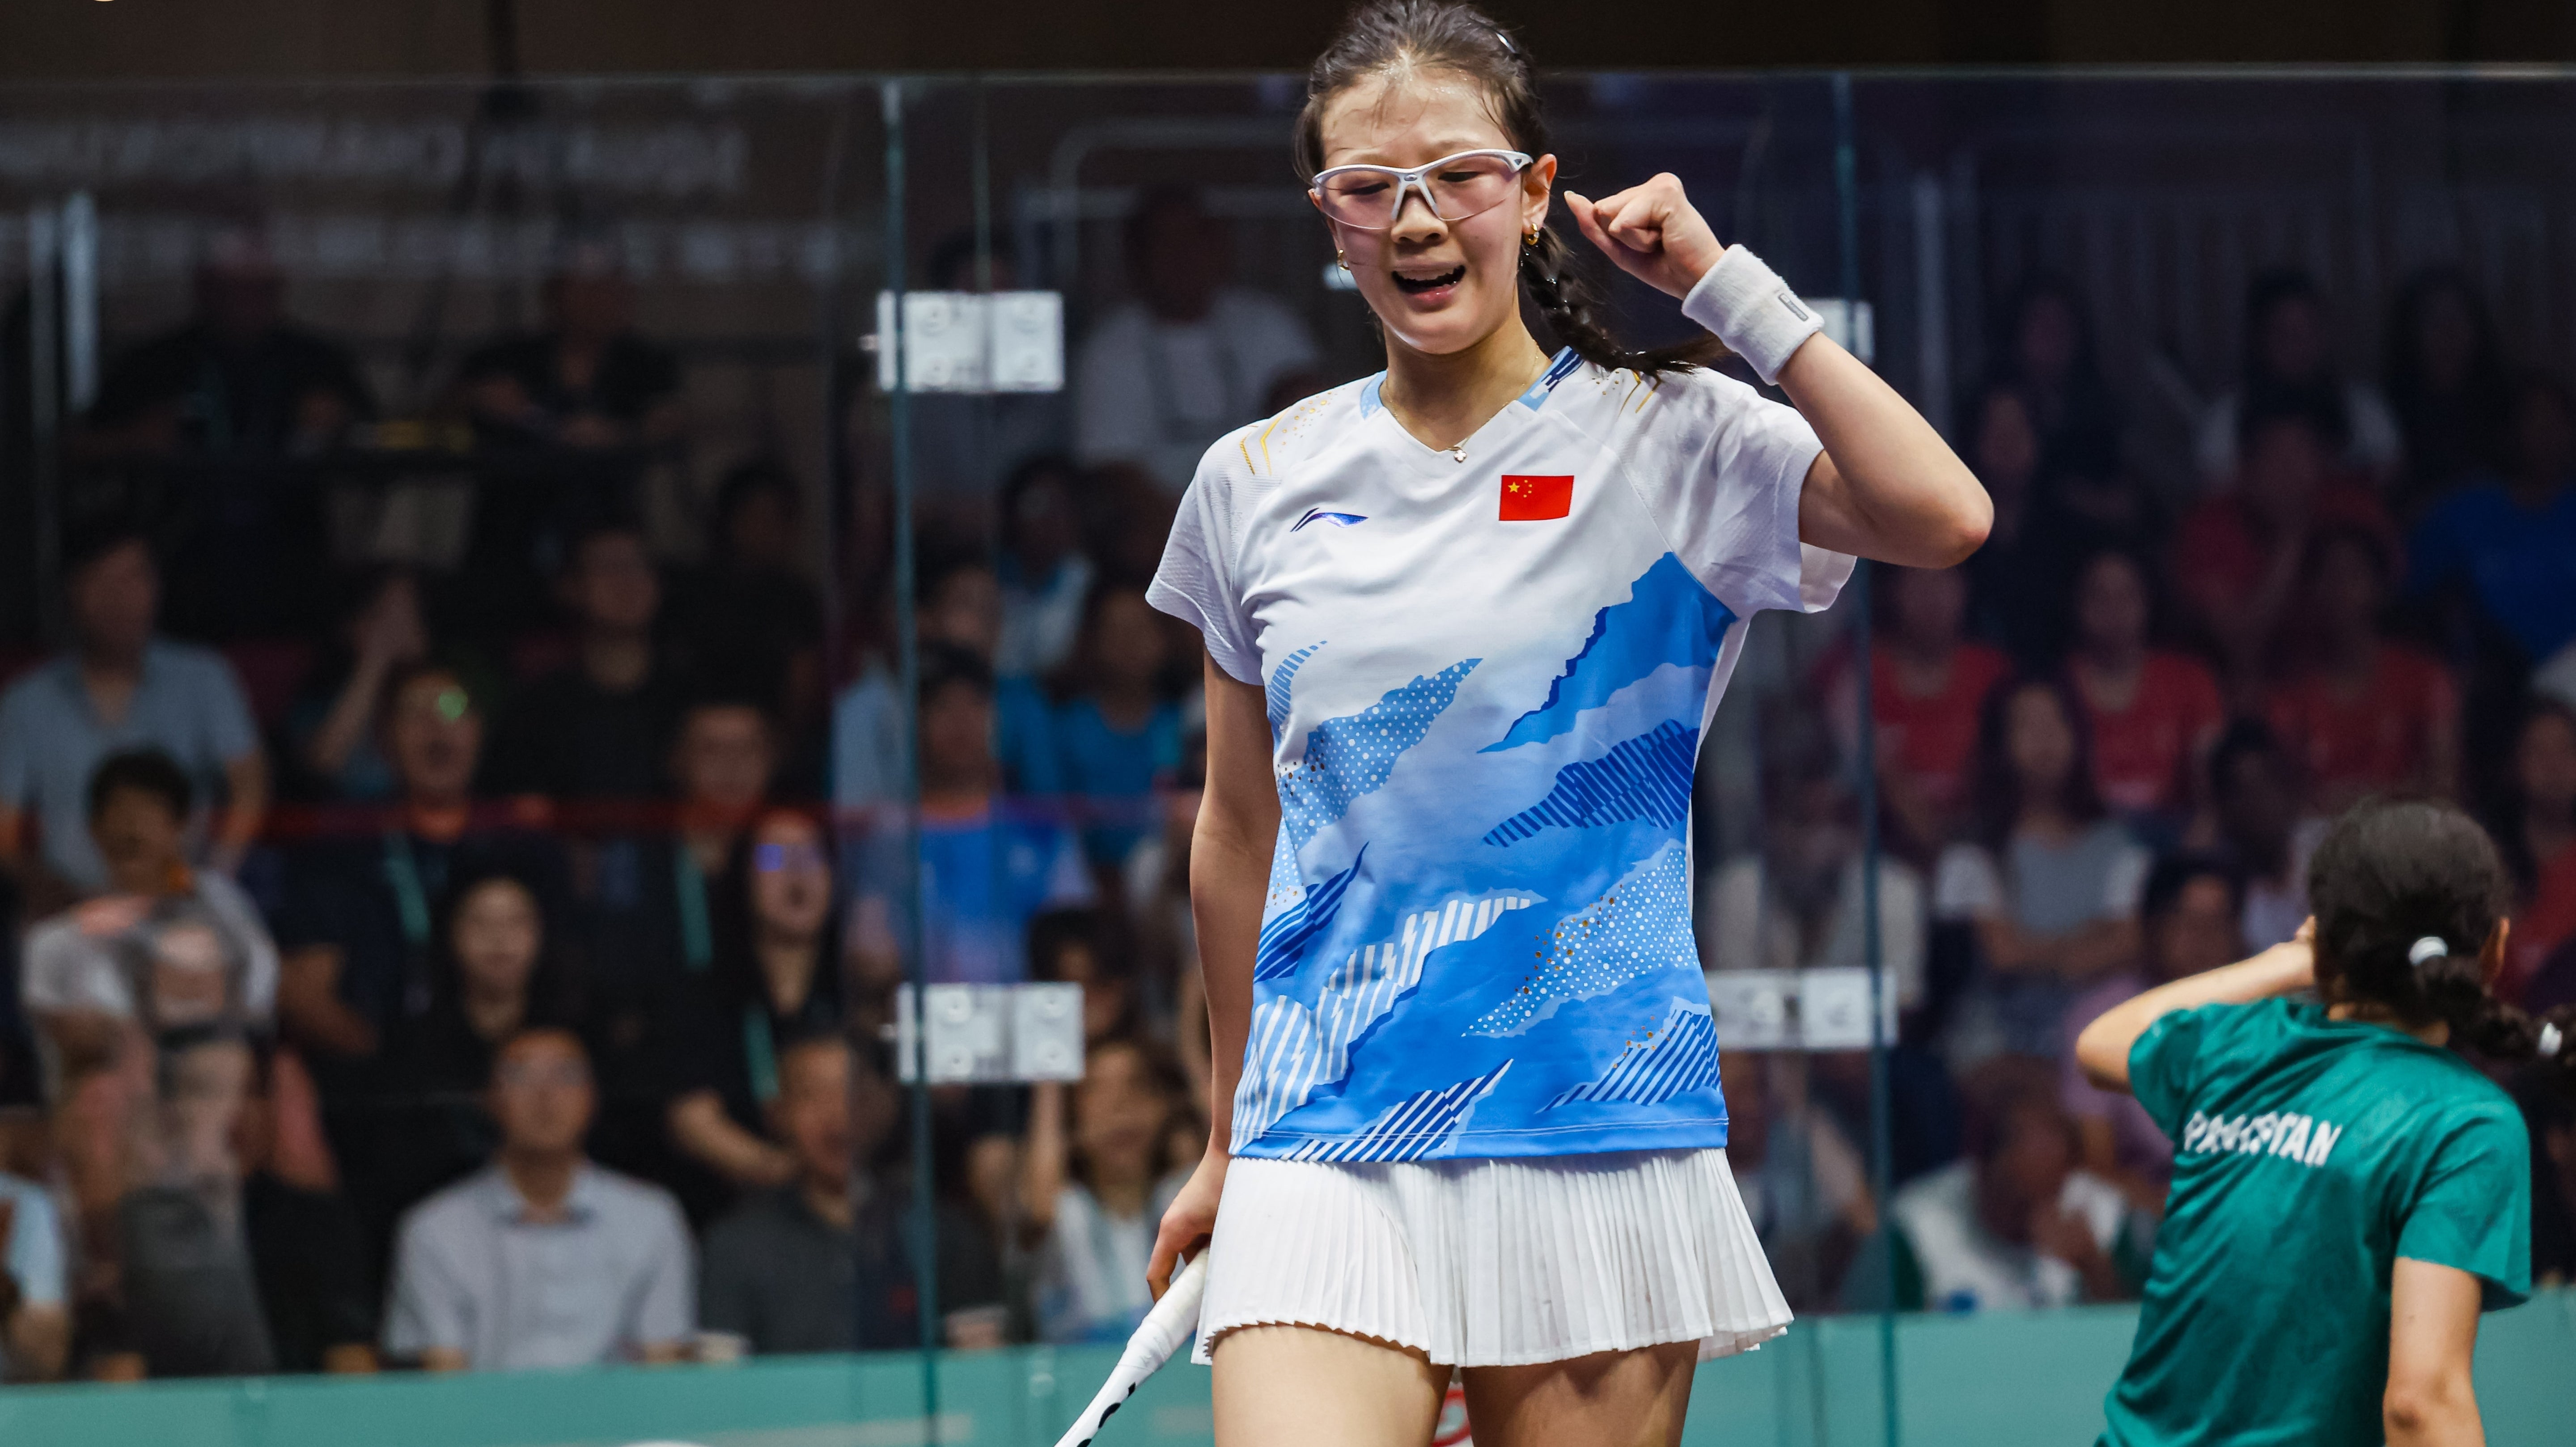
At the top level of squash, it is common sight to see two players engaged in a tactical battle on the backhand side as they patiently search for an attacking opening whilst simultaneously aiming to keep the ball mesmerisingly close to the side wall to deny their foe a chance to strike.
Engaged in such a battle of skill and guile, the backhand drive becomes an integral part of any player’s arsenal - with the world’s best players dedicating countless hours to perfecting this seemingly basic skill.
Yet at the amateur level, the backhand stroke is one that often breaks down first, with players favouring their, usually, more powerful forehand side.
Here’s what you can do to level up your game and perfect the backhand drive.

The Basics
In order to play a well executed backhand drive, the movement can be broken down into four principles:
- Preparation
- Shaping
- Striking
- Spacing
Preparation
Early and correct racket preparation is a vital element often overlooked by beginners.
Getting your racket, and body, into position early allows you more time on the ball. More time on the ball allows you to generate extra power - through body rotation - and control in the shot, hopefully allowing you to be more proactive, instead of reactive, during a rally.
Focus
• Use the time when you move from the T to the ball to lift your racket head up. You’ll find you have more time and many more options when you arrive ready to play your shot.
• Get the racket head above the ball (level with your head) and keep your arm and racket compact to your upper body. This allows for powerful rotation.
Shaping
A key element in successfully executing a backhand drive is to ensure you have the racket - and your body - in the optimal position, or shape - in this instance, we’re looking for a diamond.
Here the diamond shape is explained perfectly by SquashSkills
Created when your head, elbow, shoulder and wrist come into alignment, the backhand diamond is achieved by beginning your swing from a rotated position - twisting from the mid-section so that your shoulder is the closet of all four points to the ball.
Focus
• Create a diamond shape by aligning shoulder, elbow, wrist and racket head.
• Pull your shoulder underneath your chin to help lift the racket up
Striking
At the point of impact, an open racket face is a vital ingredient that many beginners can struggle with. Striking with a flat or ‘closed’ racket face will lead to the ball hitting the tin, or more embarrassingly, the floor!
If you keep your knuckles facing the ceiling, you’re more likely to connect with an open racket face on the backhand side through impact - so the key is to ‘knuckle up’.
Focus
• Keep your knuckles up and facing the ceiling during the point of impact.
Spacing
Even if all three previous steps are mastered, your ability to strike a clean ball will be restricted if you don’t keep enough space between you and the ball.
At the point of impact, you want the ball to be comfortably out in front of your leading knee, almost a full arms distance. This will allow you to step into the shot and fully extend, in a ‘locked out’ position with the shoulder, elbow and wrist all in alignment, to generate power.
A strong follow through, directing the ball to where you want it to go, will see the shot finish in a controlled manner.
Focus
• Keep your shoulder, elbow and wrist all in line at the point of impact for a ‘locked out’ position